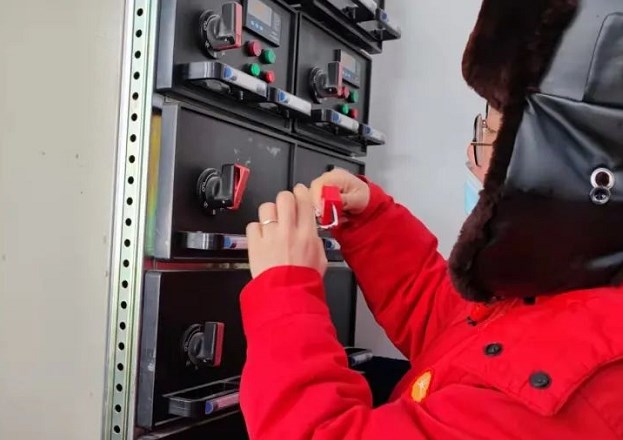
Step 4: Use the Lockout Tagout device
Use only approved locks and tags
Each person has only one lock and one tag at each power point
Verify that the energy isolation device is maintained in the “locked” position and in the “safe” or “off” position
Never borrow or lend locks
Multiple authorized personnel working on the same equipment or system must use their personal locks at the same time. Multiple locking devices (HASP) may be required
When more than one authorized person is working on the same equipment, a lock box may be used if there is insufficient space to use all of their locks.
The supervisor and foreman lock the equipment with their own locks.
The key to the lock will be kept in the lock box.
Each employee performing calibration/locking must verify that the equipment is locked.
Each employee performing the lockout will receive a padlock and key set.
The padlock locks the lock box to ensure that the supervisor and foreman’s keys are securely locked.
When the work is done, the employee will take his/her own key and padlock and give the padlock to the supervisor and foreman.
Only when all padlocks have been removed can the supervisor and foreman start the machine or equipment.
Step 5: Control stored and residual energy
Mechanical motion, heat energy, stored electrical energy, gravity, stored mechanical energy, pressure
Step 6: Verify energy isolation: zero energy
Start by verifying that all test equipment is properly transferred (e.g. voltmeters)
Try switching the device on
Test voltage, check double shut-off and discharge pressure reduction, measure temperature with independent instrument
If the stored energy is verified to be zero, place the switch in the “off” position
Start to repair or maintain the equipment
Each lock and tag must be personally removed from the energy isolation device by the authorized person using the lock and tag.

Post time: Jul-06-2022


